My Main group of Skaven were formed around the purchase of a Gutter Runners boxset, the Skaven special character assassin Death Master Snikch, and a Single Rat Ogre model.
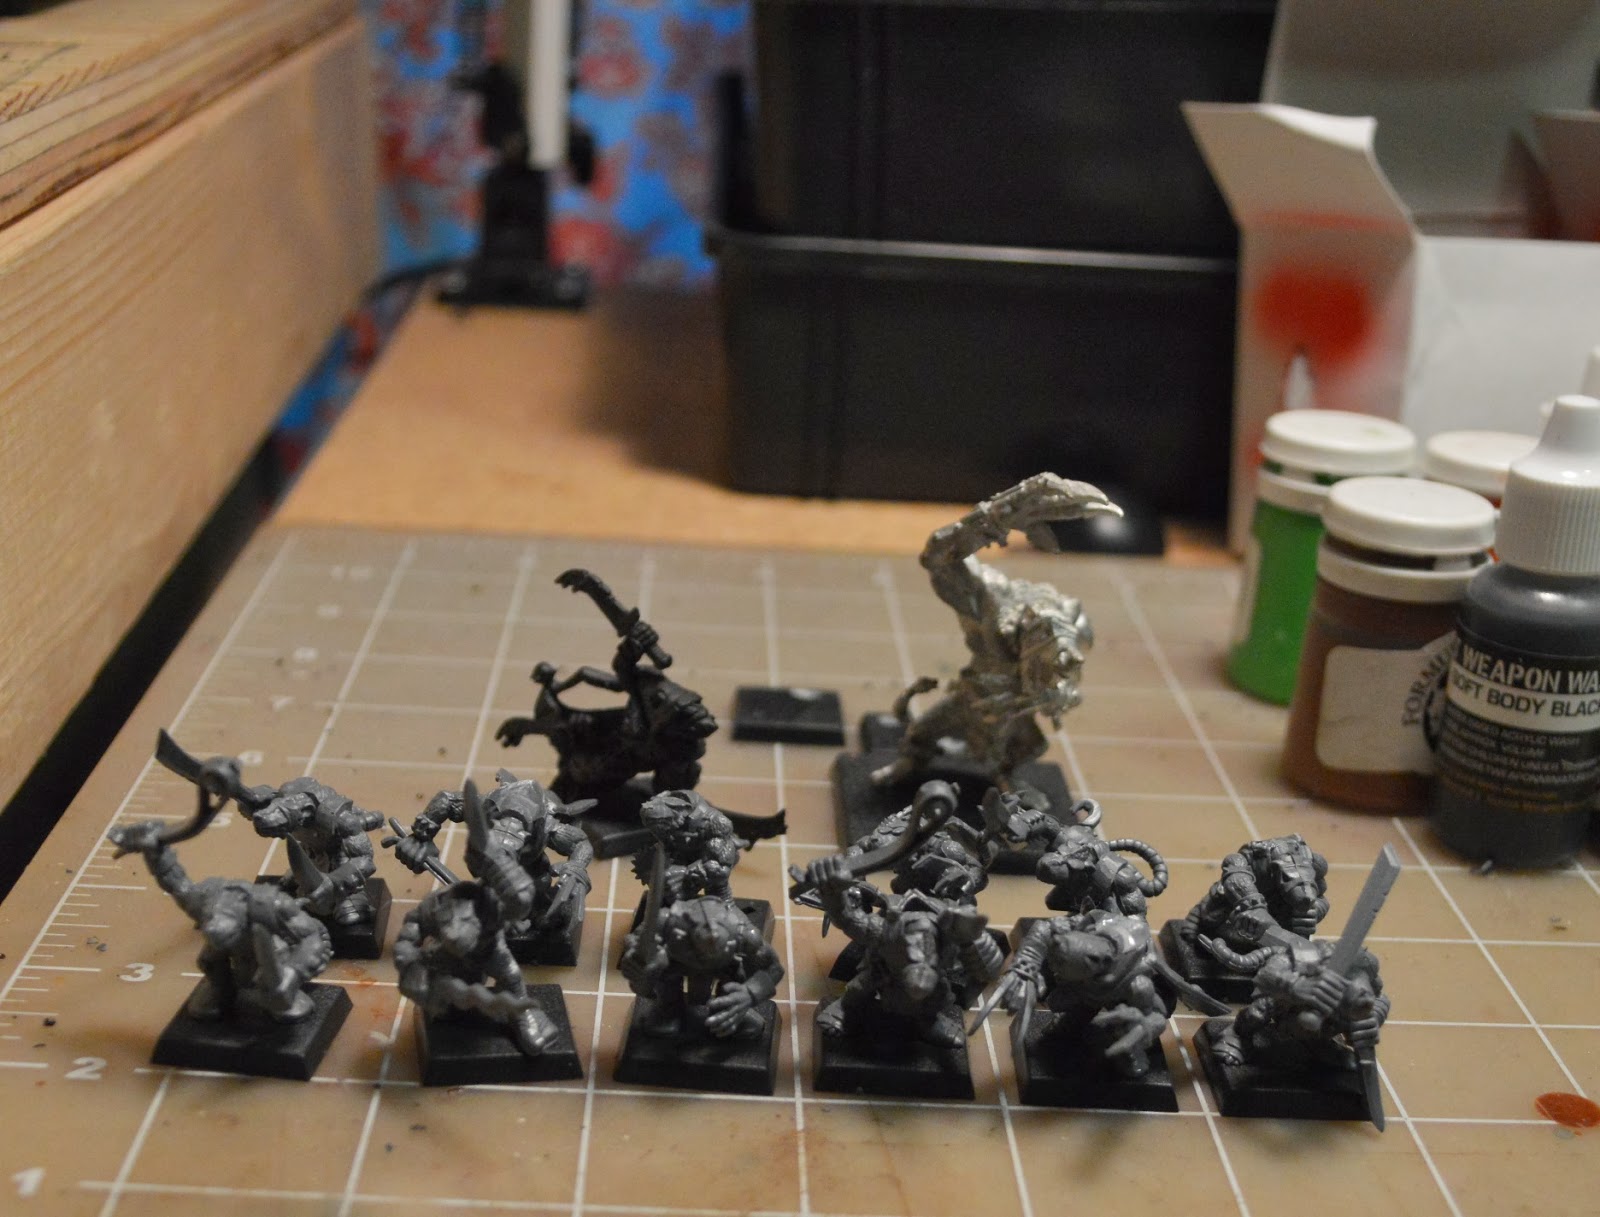
Group Shot (minus 2 models)
The only two models not pictured are the first standard Skaven with a sling and hand weapon I chose to start painting on about 2 months ago, which I completed over a two week span painting when I could sit down for 30 minutes or so so work on an area. The second model is the first Gutter Runner (for the warband all of the heroes are picked out by their capes or more notably their fighting claws.)
These models have been sitting cased for around 6 years (The last time I played Mordheim with any sort of regularity.) Modeling wise they were assembled with styrene glue and no mold lines were removed from the plastics. The metal models were pinned together and mold lines filed.
My plan is to work through all of the plastics, dealing with each model as I want to start painting it, removing it from the base (notice the two bases in the background?), placing a brass pin in one or both of the feet to aid in handling the model during painting (or lack therefore is a better way to say it.) Each model will be primed using Krylon Flat White Primer.
I will go step by step on the first model and show all of the mold lines the lovely older style GW plastics gave us, removal of the mold lines, priming, and finally painting.
This is where the 2014 Goals begin to rear their heads. I did a bit of quick photography on the bench to grab some decent shots of the painted but not yet varnished Skaven Verminkin to see what I needed to do in order to show off whats there. The first plan that emerged will be the construction of a small light box that allows for finish photography. I used one in years prior and moving around it just go tossed in the garbage. The Nikon has 1,000 features and adjustments that can be used/made. I messed with shutter speed and Aperture for about 10 minutes and settled with what I have below. Lots more work and research to do on understanding close in miniature photography.


I use a mixture of two generations of GW paints/washes, P3, Reaper Master Series, Vallejo Game and Model Color, and some Testor Clears. Basically I use what colors from what brands that give me the best results in paint consistency. I use a single W&N Kolinsky Series 7 #1 brush for 95% of my work, shifting to a #0 on occasion if I can't reach something with the large diameter #1 (pretty rare nowadays)
I have another model that I am working on right now, I actually took the model apart at the waist to assist in painting its lower torso, then assembled the top half back on to finish (where I am at currently.)
Just looking at what the camera shows, certain areas let me know here I got lazy on skipping some layers or if the paint consistency got too thin. A notable difference would be on the rear shot, the difference from the left side wrapping on the feet (claws!) as opposed to the right.
Modeling goal for the Skaven for the Dec 14th update is to complete Skaven Gutter Runner #1, and have the next Skaven ready for paint with the accompanied modeling and priming steps.
No comments:
Post a Comment