I painted another Nomad Model
The Riot Grrrl is pretty interesting (although the anatomical armor gets some scorn from the SO); lots of small detail that is well defined from a sculpting perspective. Painting time was tracked via an audio book (John Ringo's "A Hymn Before Battle"; Pretty Awesome Military Science Fiction) That book clocks in right at 15 hours long, plus I spent 3 hours painting while watching the Route on Route 66 Infinity ITS Event Live Stream held in Amarillo, TX. All that combined I put in roughly 19 hours of painting from first brush stroke till final basing details over a 2 week period (for those with basic arithmetic skills, the last hour was spent painting the base.)
The progress photos were taken with my cellphone at the end of each painting session, so I apologize in advance for some of the blur/poor lighting conditions of those pictures. The final shots (once I get a light-box built, that is a project in of itself!) will be nice and clear.
I prime my models using Krylon Camouflage Khaki Paint. Why? I like neutral color bases, and for a long time I worked with a gray primer base until I tried it after seeing a fellow hobbyist using it. The warmer tones work better for my eyes and it takes color in some hues better than gray (red being a big one I noticed.)
For glazes and washes I use a mix of Liquitex Glazing medium and VMC Matte Medium depending on the level of opacity for a given application (meaning I just make it up as I go and adjust via the addition of water as needed)
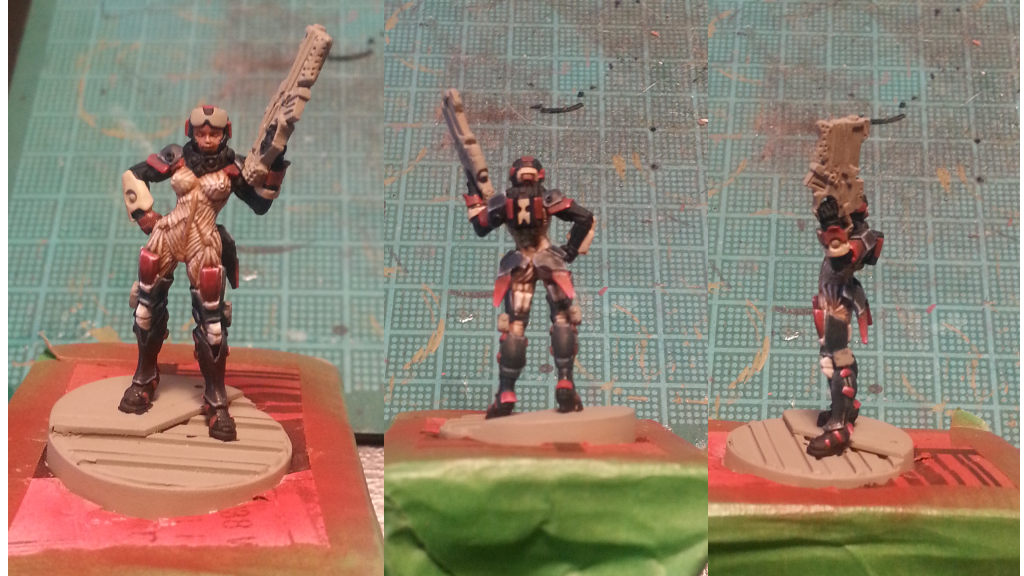
WIP 1
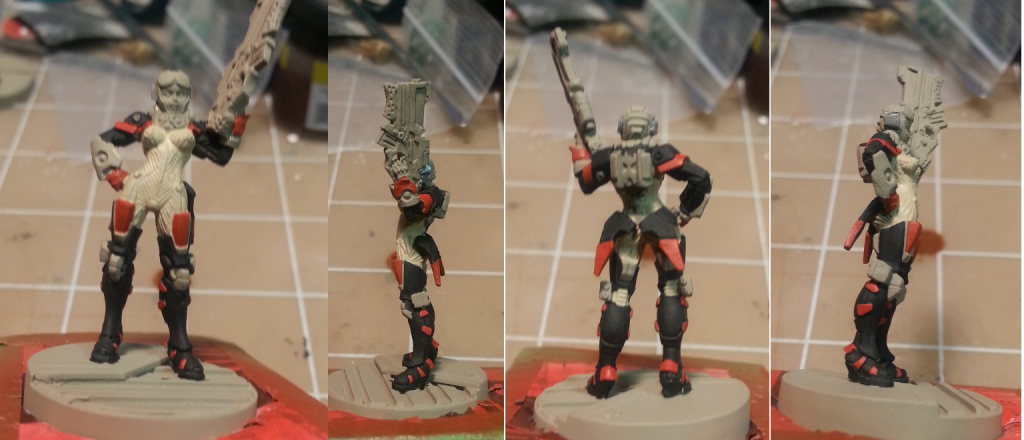
Session 1 found me laying out the majority of where I wanted colors to be located to get a feel for how colors needed to be balanced throughout the model. This is purely an aesthetic feel exercise, that I struggle with all the time, so laying out my plan a bit from the start keeps me focused on finishing the model and not floundering over color.. *cough* SAKIEL!!! *cough*
A quick run down of the paints I am using (Prepare for brand/system loyalty to go right out the window!)
Colors used:
VMC Black
P3 Skorne Red
P3 Jack Bone
Another small detail you may notice, no antenna head gear. It's not because I did not like them, I misplaced them at some point after the initial assembly, so out came a small bit of Pro Create and good old fashioned boxy earmuffs got sculpted in their place.
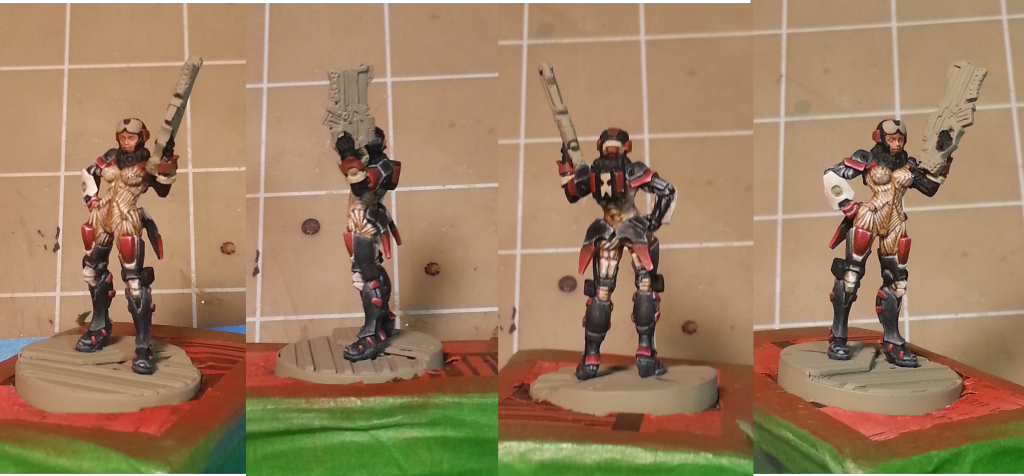
WIP 2
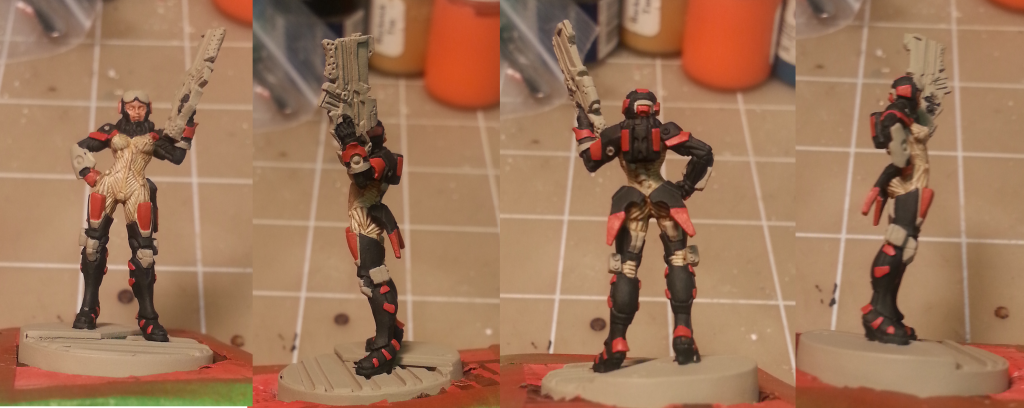
Session 2 I continued laying base colors for balance (mainly the darker armor areas and red fins) and started washing/glazing the under armor suit. I built the glazes from a mix of the Citadel washes Devlan Mud, Gryphonne Sepia, Army Painter Soft Wash, RMS Brown Ink, and a small amount of the base coat color: P3 Jack Bone. I adjust the glaze opacity as I go by adding paint for more extreme coverage per coat or more water to thin the layer, followed by a quick hit from the heat gun to dry it.
As an aside, a heat gun (its a scrap booking heat gun, so more like a dual setting hair dryer on high) makes painting in many thin layers move quickly when coupled with wash/glaze layers to blend highlights together. I wish I could paint via two brush or wet blend quickly, but the technique isn't clicking for me yet (one day!.)
WIP 3
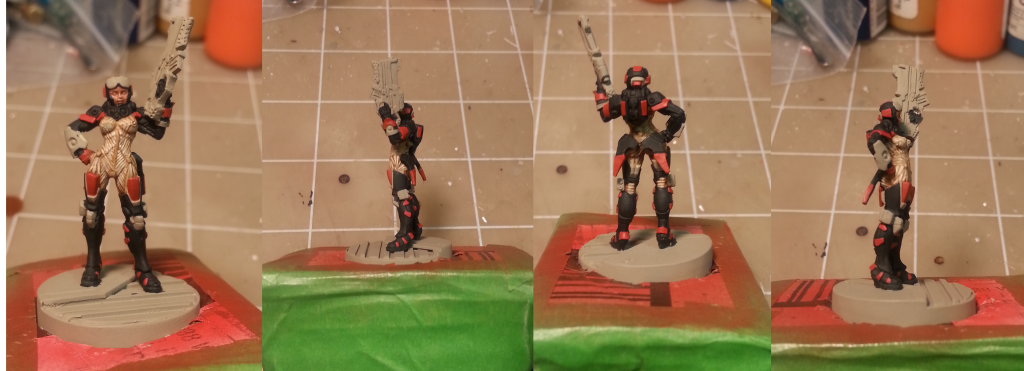
Session 3 is more of the same and rather boring. Focus almost completely on the underarmor; glaze, wash, paint detail, highlight and repeat.
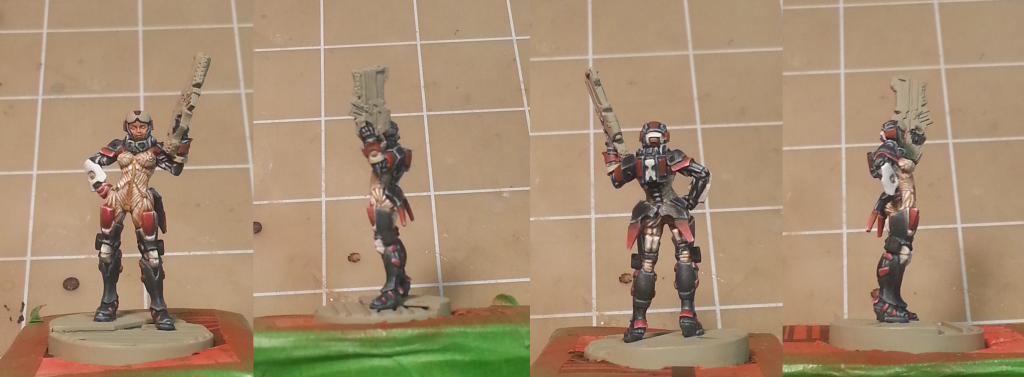
WIP 4
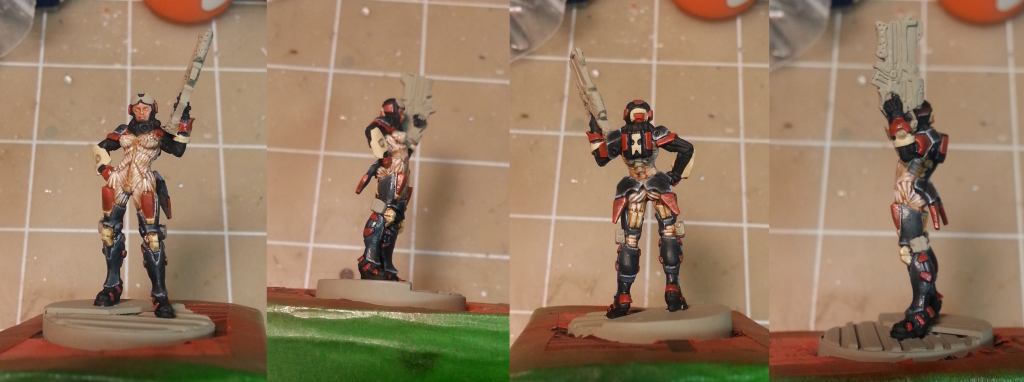
Session 4 brought all kinds of progress, it was a marathon of about 3.5 hours of painting. I went to town on the armor, highlighting and glazing up a storm. I also did some shading to create shadow and mid-tones in preparation of tackling the red.
Colors used:
VMC Dark Gray
VMC Ivory
P3 Gnarls Green
P3 Skorne Red
Citadel Devlan Mud
WIP 5
Session 5 The reds started getting attention. I learned a great deal painting this model when it came to red and the red for my Nomads. It is evolving into a high-contrast, bright red with green hued shadow all the way up to a pink/white transition line highlight at the end. Its a very striking and warm color that's many thin layers of reds progressively pulled from the bottom to the top (where the most paint will be left behind as the brush is removed) with a few intermediate glazes every few layers to clean up the color changes.
Colors used:
P3 Menoth White Base (for the areas that will be close to white later)
P3 Gnarls Green
P3 Skorne Red
VMC Red
VMC Ivory
VMC Black
Citadel Devlan Mud
WIP 6
Session 6 Glaze... Glaze.. GLAZE! Same routine to get the armor and reds finished. Very limited palette was used throughout for this model (if you use a wet palette, 10 dozen colors can be made, kept, and reused from 2 or 3 base colors.) for ease of recreation later on the rest of my Nomad force.
P3 Menoth White Base (for the areas that will be close to white later)
P3 Gnarls Green
P3 Skorne Red
VMC Red
VMC Ivory
VMC Black
Citadel Devlan Mud
WIP 7
Session 7 is the same as 6.. grinding through those last details.
P3 Skorne Red
VMC Red
VMC Ivory
VMC Black
Citadel Devlan Mud
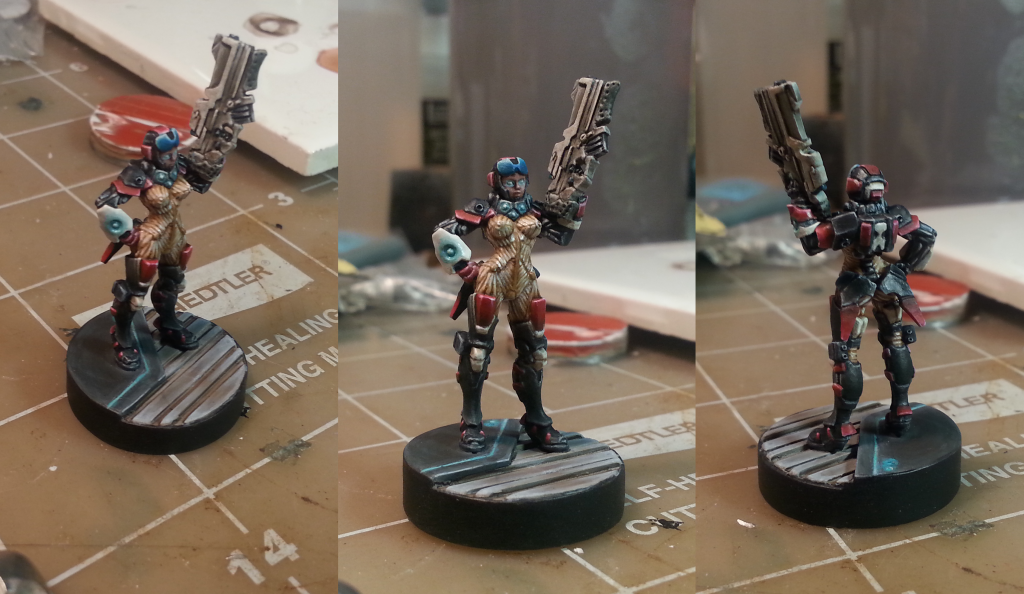
WIP 8
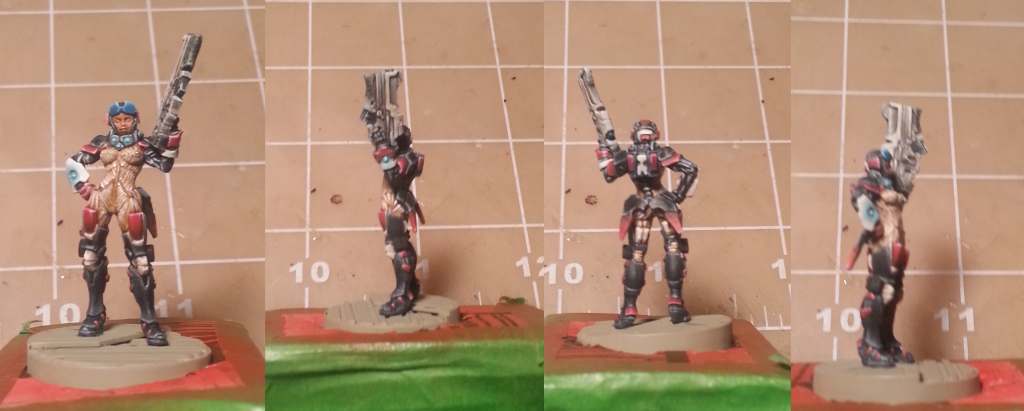
Session 8 is where the closing parts started to fall into place. Blues were glazed in for an attempt at basic OSL from the interfaces/gems on the gauntlets and neck armor. The lens was treated as if it were tinted blue, mainly to break up the model some and draw the viewers eye to the face (Not the face.. I am very bad at painting faces...) I attempted to paint the eyes as normal, black them out, fill in the white, define the pupil, Iris, etc.. After three attempts and messing up the Riot Grrrl got her some glowy eyes! The Spitfire main weapon was base coated in P3 Cryx Bane Highlight, Glazed with Delvan Mud, then highlighted up. The Contact points were base coated with P3 Cryx Bane Base, and highlighted accordingly.
P3 Skorne Red
VMC Red
VMC Ivory
VMC Black
P3 Arcane Blue
P3 Cyngar Blue Highlight
RMS Fair Skin
RMS Tanned Skin Highlight
P3 Cryx Bane Base
P3 Cryx Bane Highlight
Citadel Devlan Mud
Citadel Gryphonne Sepia
Citadel Ogryn Flesh
Finished
Very nice! Love the step-by-step photos and finished paintjob.
ReplyDeleteUh oh. You're pretty good at this painting lark!
ReplyDelete